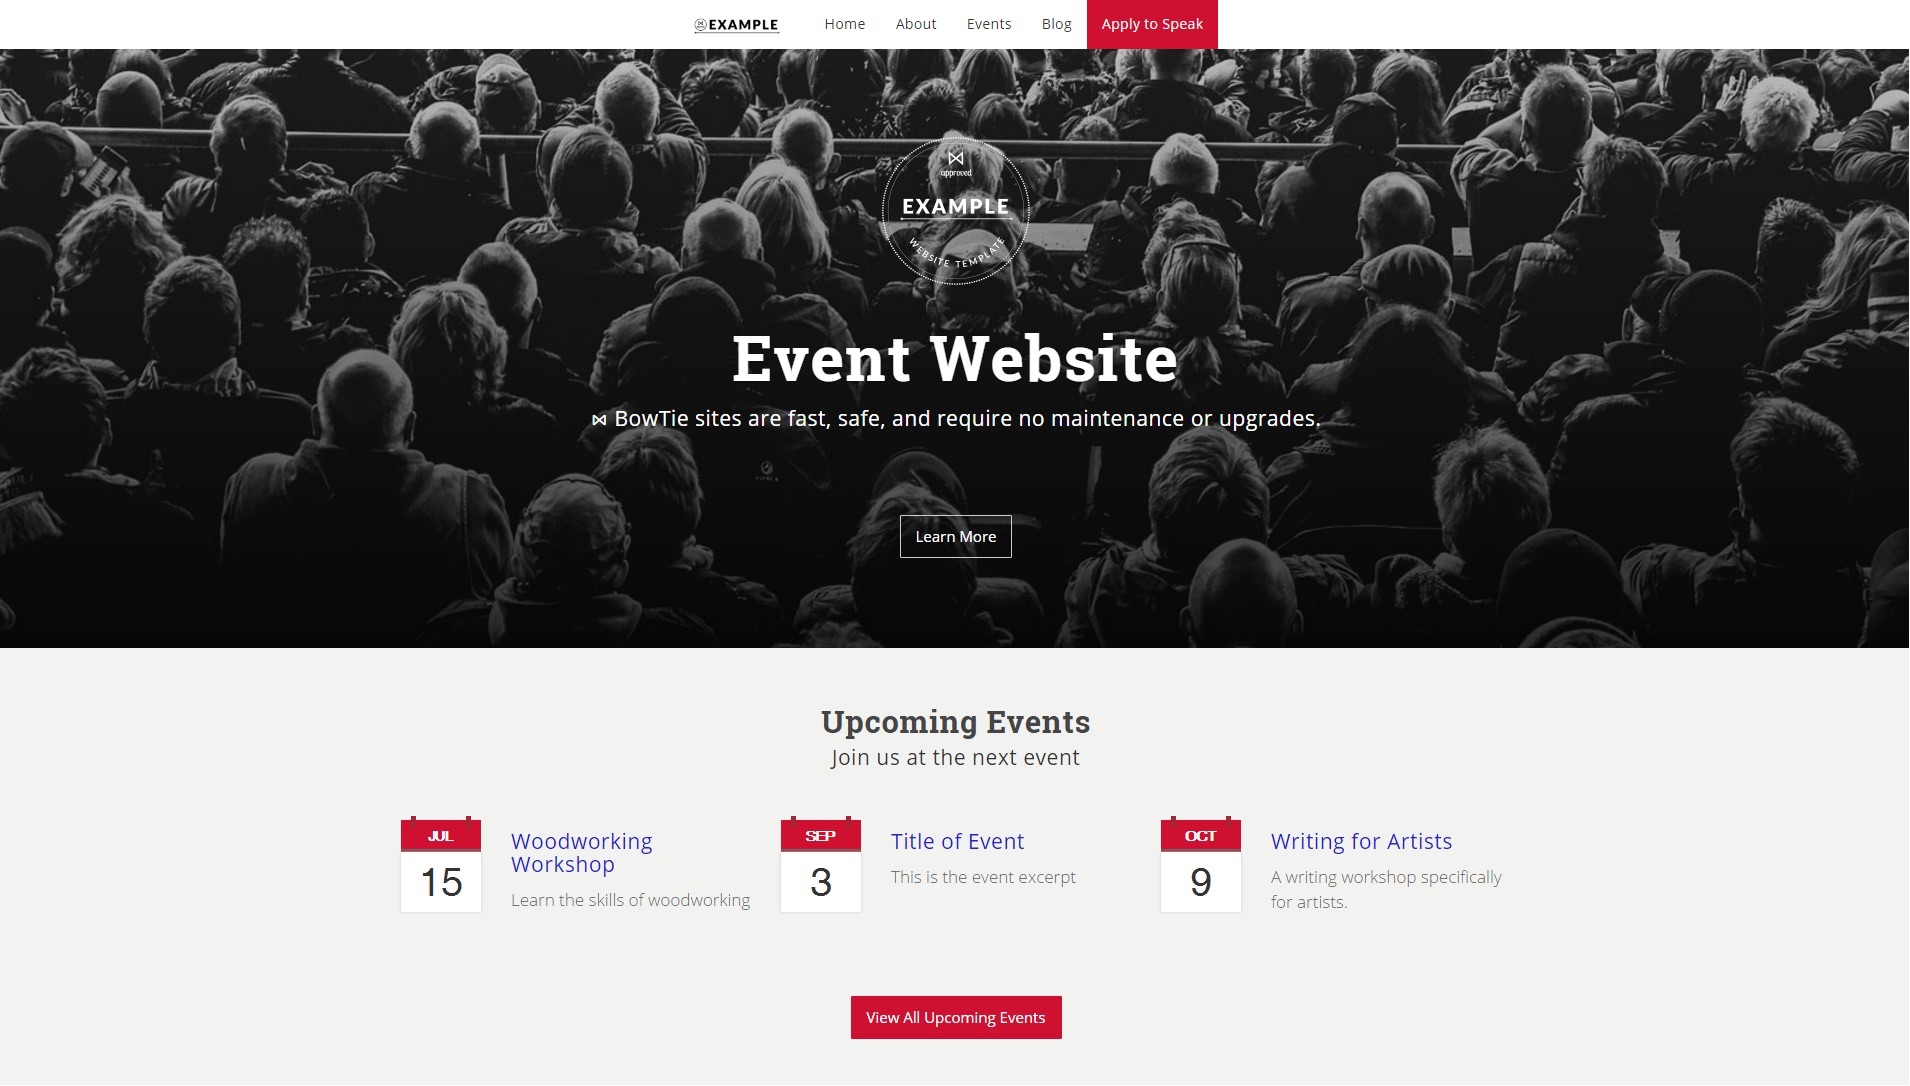
The BowTie event template harnesses the power of Jekyll collections with the BowTie content editor. In this guide we will show you how to setup, and edit the website from the content editor. If you are a developer, find out how to work with sections and widgets to extend this template.
Event Page
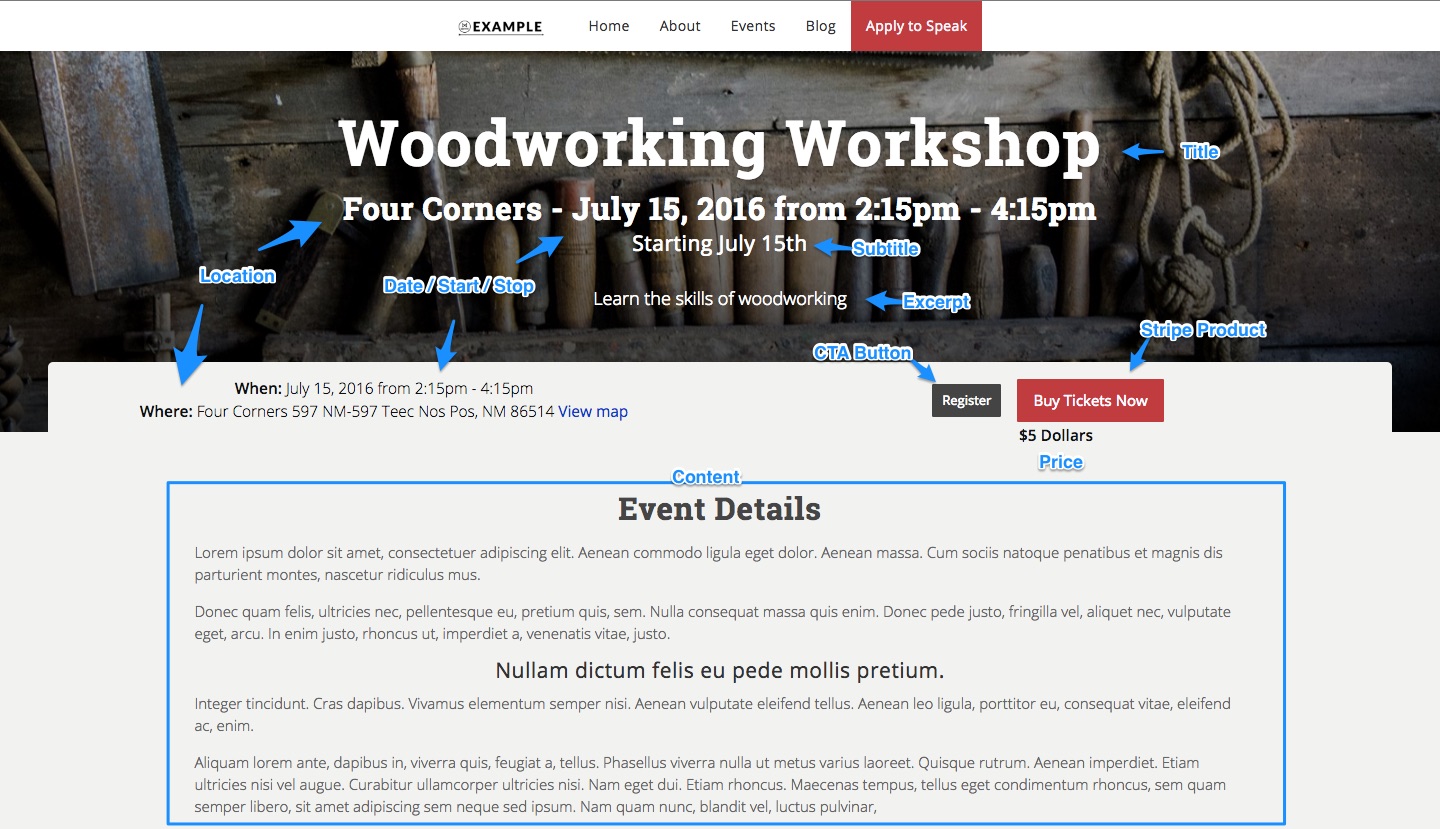
Editing an Event
Each event belongs to an events collection. You can add, edit and delete events using the BowTie Dashboard Editor. In your dashboard click collections to expand and selection events (see below for example).
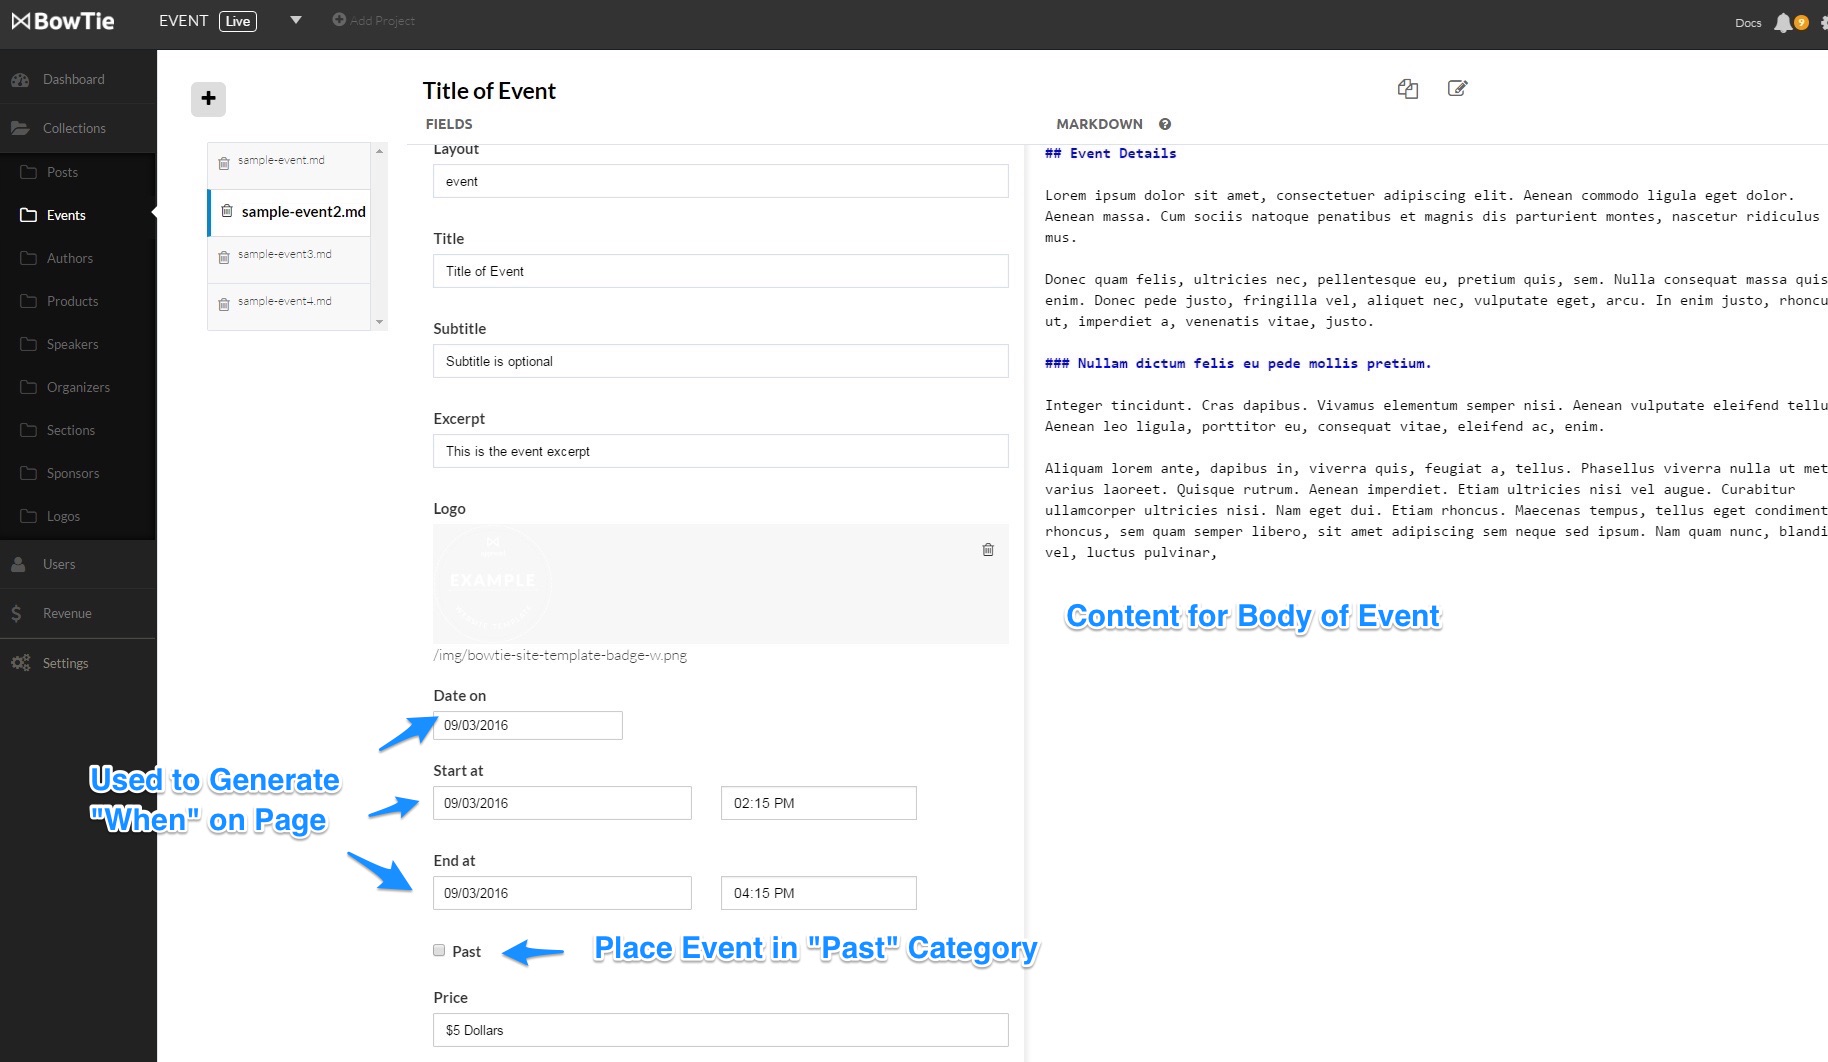
Once you have selected an event, you can begin making changes. The Layout field should remain event. Tittle, Subtitle, and Excerpt are used in the header of the event page. Title and Excerpt are also used on the homepage and event listing page. You can upload a Logo to be displayed above the title.
The Date on field will define the caledar date your event is scheduled for. Setting a Start at and End at time for your event will build the “When” section of the event details.
Check the past checkbox if you would like this event to be filtered from the upcoming list and displayed as a past event.
The Price displays below the call to action and stripe buttons.
Event Location
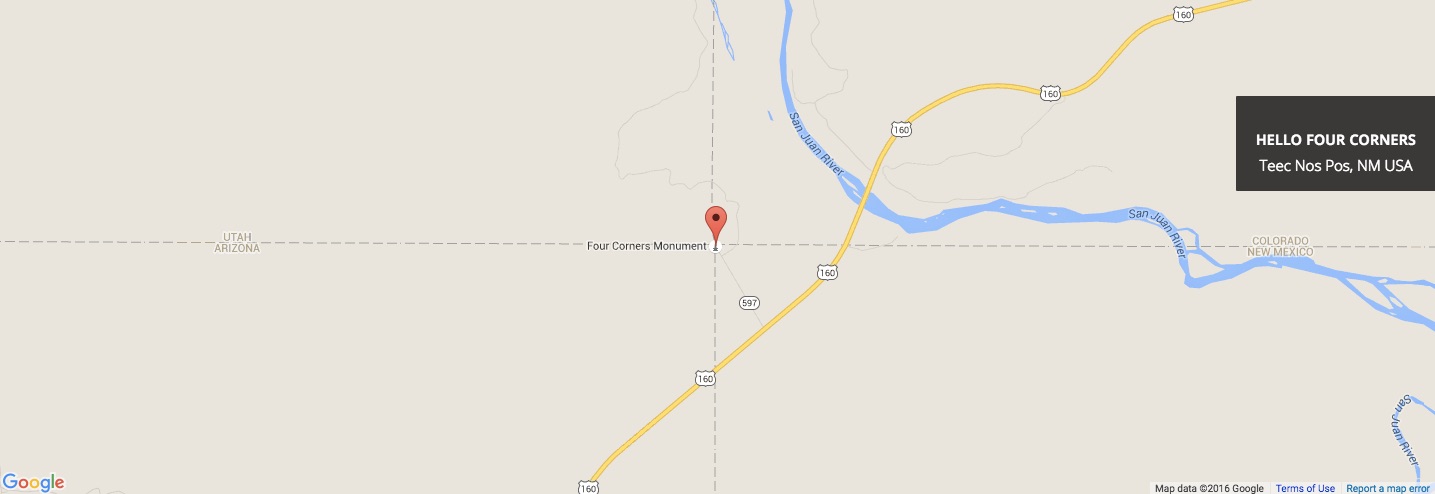
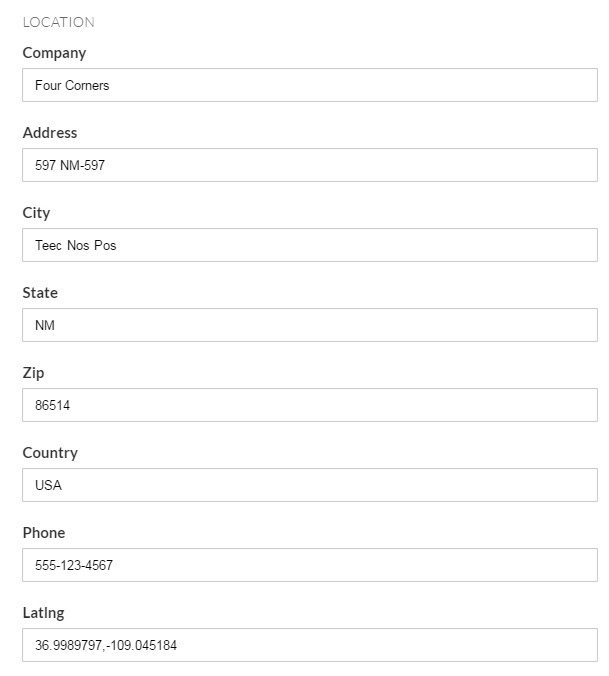
Event location information is used in a few different way. First the Company is used in the event header. It is also used along with Address, City, State and Zip to build the Where information.
Lower down on the page, a map is also generated using the Latlng information. If this information is not provided for the event, default address information will be pulled from the sites config file.
Call to Action and Stripe Payments
For information on setting up Stripe, including how to create a product and add it to your site, read our Stripe integration guide.
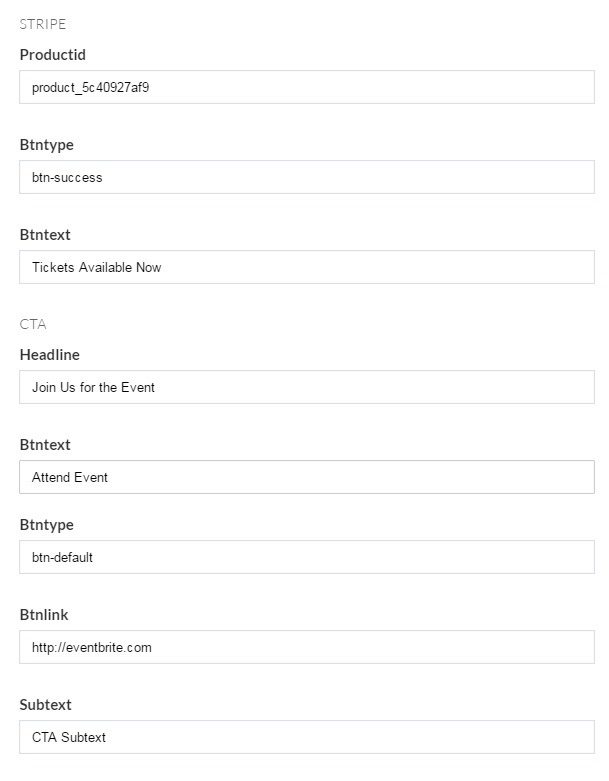
If you are using BowTie’s Stripe integration to sell tickets for your event, you can reference the specific Productid for the event. BtnType can be set to any of the bootstrap options. Btntext will be displayed on the generated button.
If you do not wish to use stripe, simply delete the Productid and the button will not be generated.
You can also define a Call to action under the CTA section. Btntext and Btntype act the same as for the stripe button. The Btnlink can be an external link, and is a great place to link out to eventbrite, meetup, or other third party sites.
Event Styles
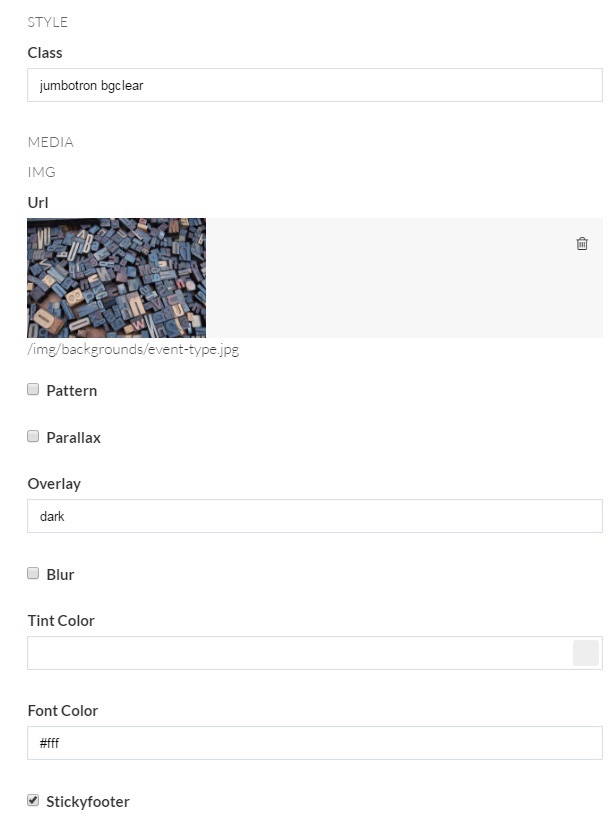
The style section of your event defines how the event header will look.
In most cases, leave the Class as jumbotron bgclear. You can upload a background image with the url option. If your image is a texture or pattern, check the Pattern option so it will repeat. Checking Parallax will fix the image in place as the page scrolls.
Overlay can either set to dark or light. This is helpful to increase the contract between text and image. You can also leave it blank to apply no overlay.
Checking Blur will apply a blur filter to the background image.
Tint Color will tint the photo the color you choose.
Lastly, Font Color will apply that color to all text elements in the header.
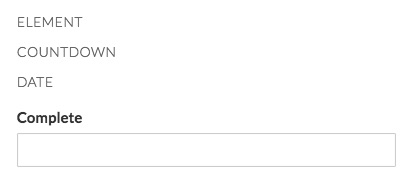
Adding a Countdown to Event
Event Meta Details
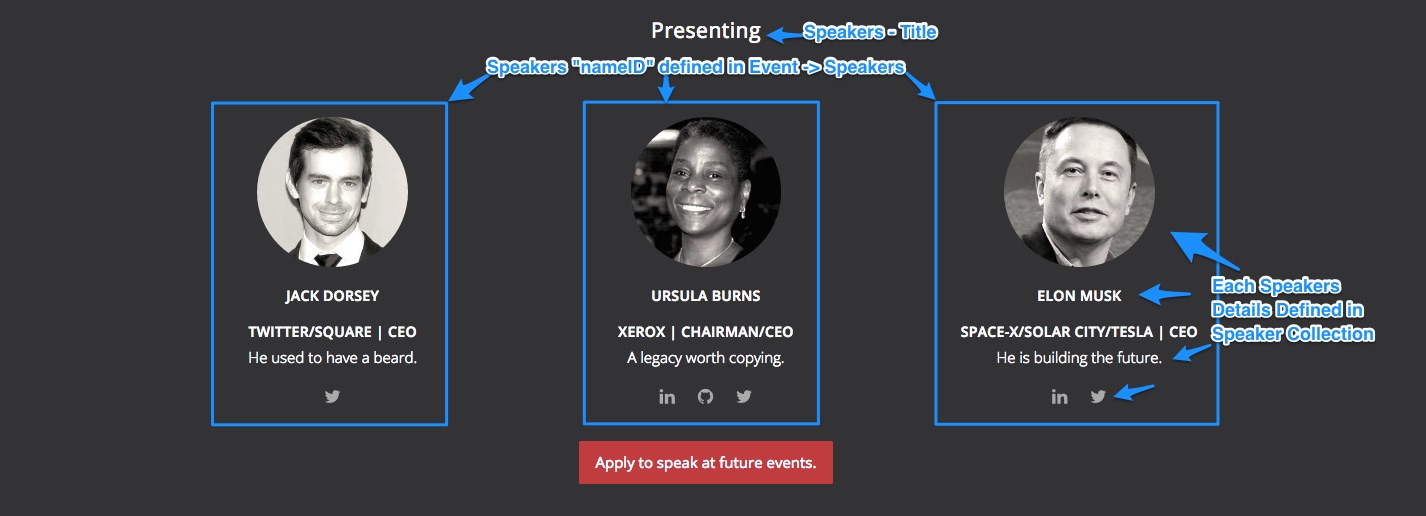
Speakers, sponsors, organizers, and Logos each have their own collections in which you define the details for each item. You can reference these items when building an event. This way you can use the same sponsor or organizer for multiple events.
Speakers
Add a Speaker to the Speakers Collection
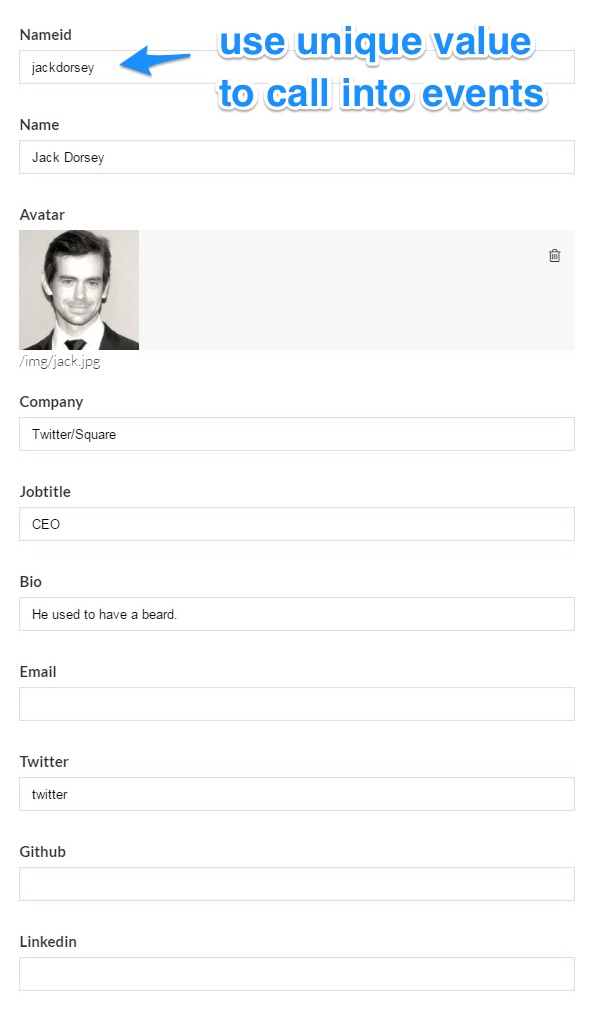
To include a speaker in an event, we must first create the speakers profile in the speakers collection.
Nameid is what we will use to reference this profile on the event page. Make sure to keep it simple and easy to remember.
Name is the display name for the speaker. You can also define a Company, Jobtitle and Bio. Leaving any of these blank will leave them out of the template.
You can upload a photo using the Avatar upload.
Providing an email will generate the email icon. For Twitter, Github, and Linkedin, make sure to include the entire URL, including http://.
Adding speakers to an Event
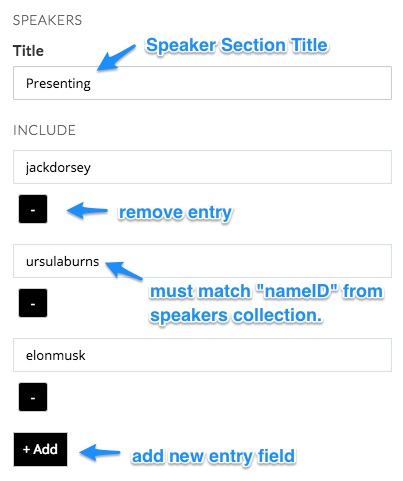
Under the Speakers section of the event, title will be used for the title of the speaker section.
Now that we have a speaker profile created, we can add it to the event. You will need the value from the Nameid of the speaker you would like to include. Under Include you can add or delete as many fields as you need. Simply create an entry using the Nameid for each speaker you would like to include.
Sponsors

Creating a Sponsor Listing
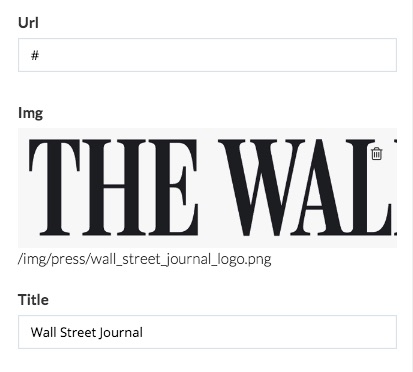
Just like speakers, you must first create a profile for your sponsor before attaching it to an event. Click on the sponsors collection and open a preinstalled sponsor.
Upload an img and provide a title for your sponsor. This title will be used to reference this sponsor when we include it on the event page.
If you add a url for your sponsor, the image will be a link. If you do not wish to use a url, simply leave it blank or place a # in the field.
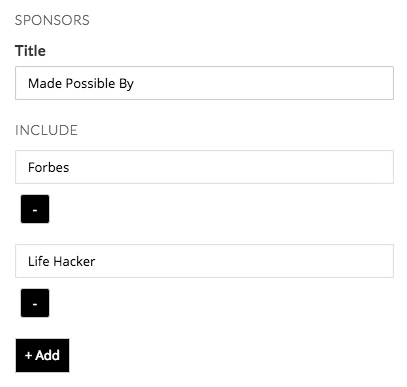
Attach Sponsors to Event
Adding a sponsor to an event is similar to adding a speaker. Simply create an include entry using the title defined for that sponsor.
Logos

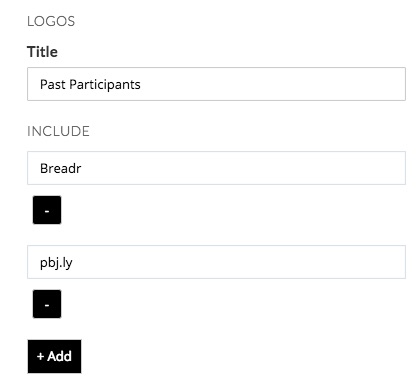
Add Logo to Event
Adding a logo to your event is exactly the same as adding a sponsor. First make sure to create the logo details in the logo collection. Then take the title, and list it as an included logo on your event.
Organizers

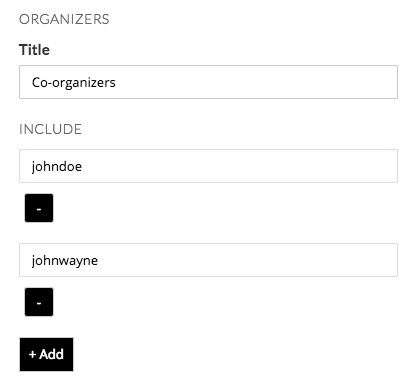
Attach an Organizer to an Event
Adding an Organizer to an event is exactly the same as adding a speaker. First create the organizers profile in the organizer collection. Then take the nameID and list it as an included organizer on the event.
Working with Sections
While individual events are defined and edited in the event collection as explained above, the rest of the site is comprised of sections. In the Sections collection you can modify content, or even add new sections to pages.
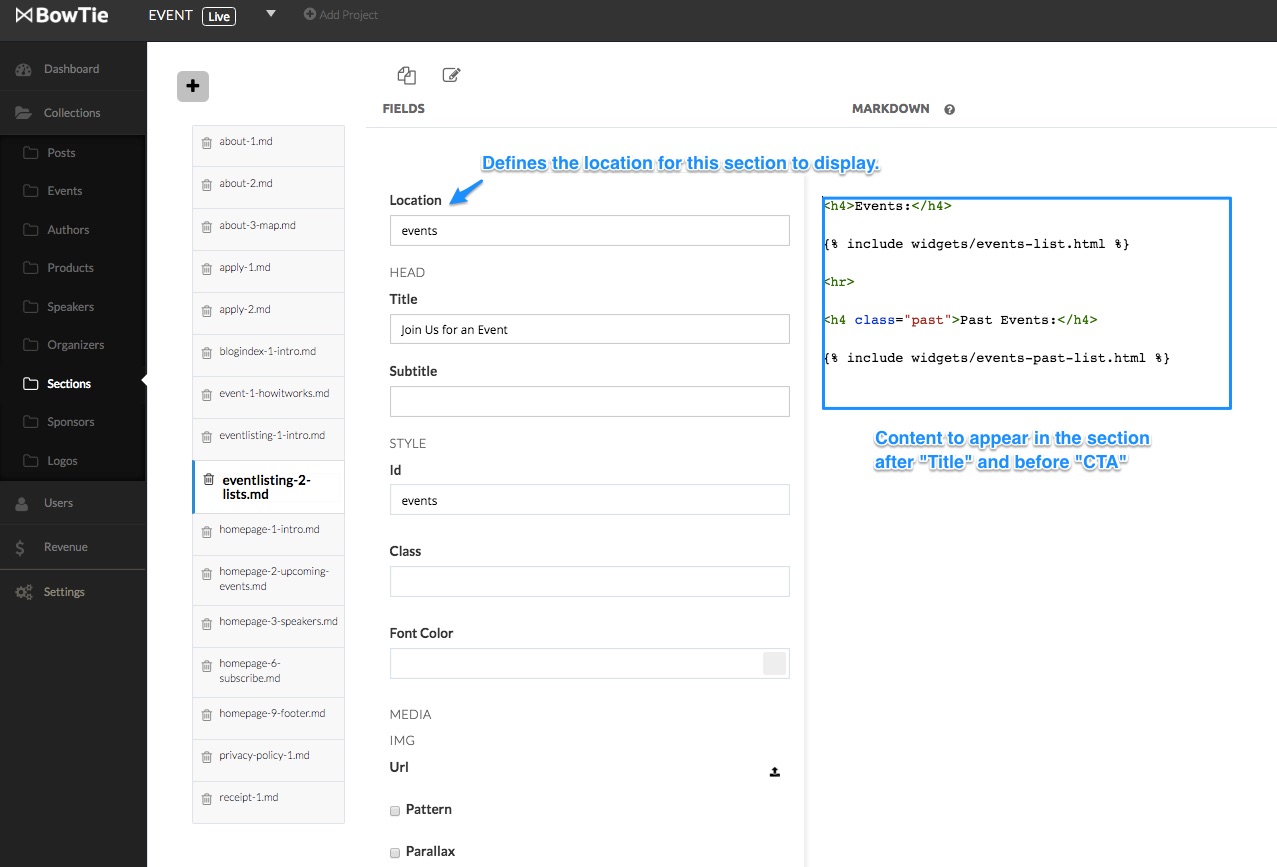
Each Section has a location that correlates to section locations in the theme. The event template ships with the following locations.
about- About pageapply- Speaker signup page.blogs- Blog page above blog feed.events- Event listing pagehomepage- Homepage of your siteprivacy-policy- Privacy Policy contentreceiptpage- Receipt page for purchased tickets.
When multiple sections have matching locations, such as the homepage, they will stack in alphabetical order of the section name. To change the order of the homepage items, imply change the number in homepage-#
Each Section is comprised of a head, content and call to action. Head includes a Title and Subtitle. The CTA includes a Headline that will appear above the button created with the Btntext, Btntype and Btnlink information. Subtext appears below the button.
Sections also include Style settings. These are similar to the style settings described above. Open the homepage-1-intro.md for a section example.
For a more detailed review of sections, checkout our guide on working with sections in BowTie.
If you are a developer looking to extend this template further,
If you are new to BowTie, check out our other Getting Started guides.
Getting Started with BowTie:
- Build a Landing Page in 5 minutes
- Using the BowTie Collection Editor
- Initial Configuration
- Setting Up Custom Domains
- Customizing and Styling BowTie frontend content
- Build a website with a pay wall
- Blogging with BowTie
- Launch a simple donation site
- Using BowTie’s User Profile system
- Build a Daily Deal Site with Jekyll Collections
- Using Jekyll Data to extend your site
- Adding BowTie users to MailChimp with Zapier
To keep up to date, follow us on twitter at @bowtie_io
Questions? Please comment! Thanks for your support and feedback.