BowTie allows you to host content from practically any static site generator or framework. This post will show you two methods for hosting Middleman, and show you how to take advantage of some of BowTie’s other features when using Middleman for content generation.
Deploying Middleman to BowTie
1. Set Up
Middleman uses Ruby. Make sure you have a working version of Ruby installed before you embark on this journey, or read this documentation to install it.
Type gem install middleman into your terminal to install Middleman.
Once Middleman is installed, you will have access to commands like middleman init, middleman server, and middleman build, used below.
2. Create a Middleman Project
First things first: to host Middleman on BowTie, you will need a BowTie project. If you don’t have one, create one here.
Note: You can choose any template because if you don’t plan to use Jekyll content, you only need a few files. I am starting with the ‘Blank’ template and will explain which files to keep/remove later.
Clone your BowTie repo and navigate to the local version of the cloned project directory from the command line.
To create a new Middleman project, type middleman init ., inside of your BowTie project directory.
Middleman will create files and directories inside your project directory that are Middleman’s default content.
3. Configure the Build Directory
Next, we are going to tell Middleman where to output static files and disable the BowTie’s server-side Jekyll build.
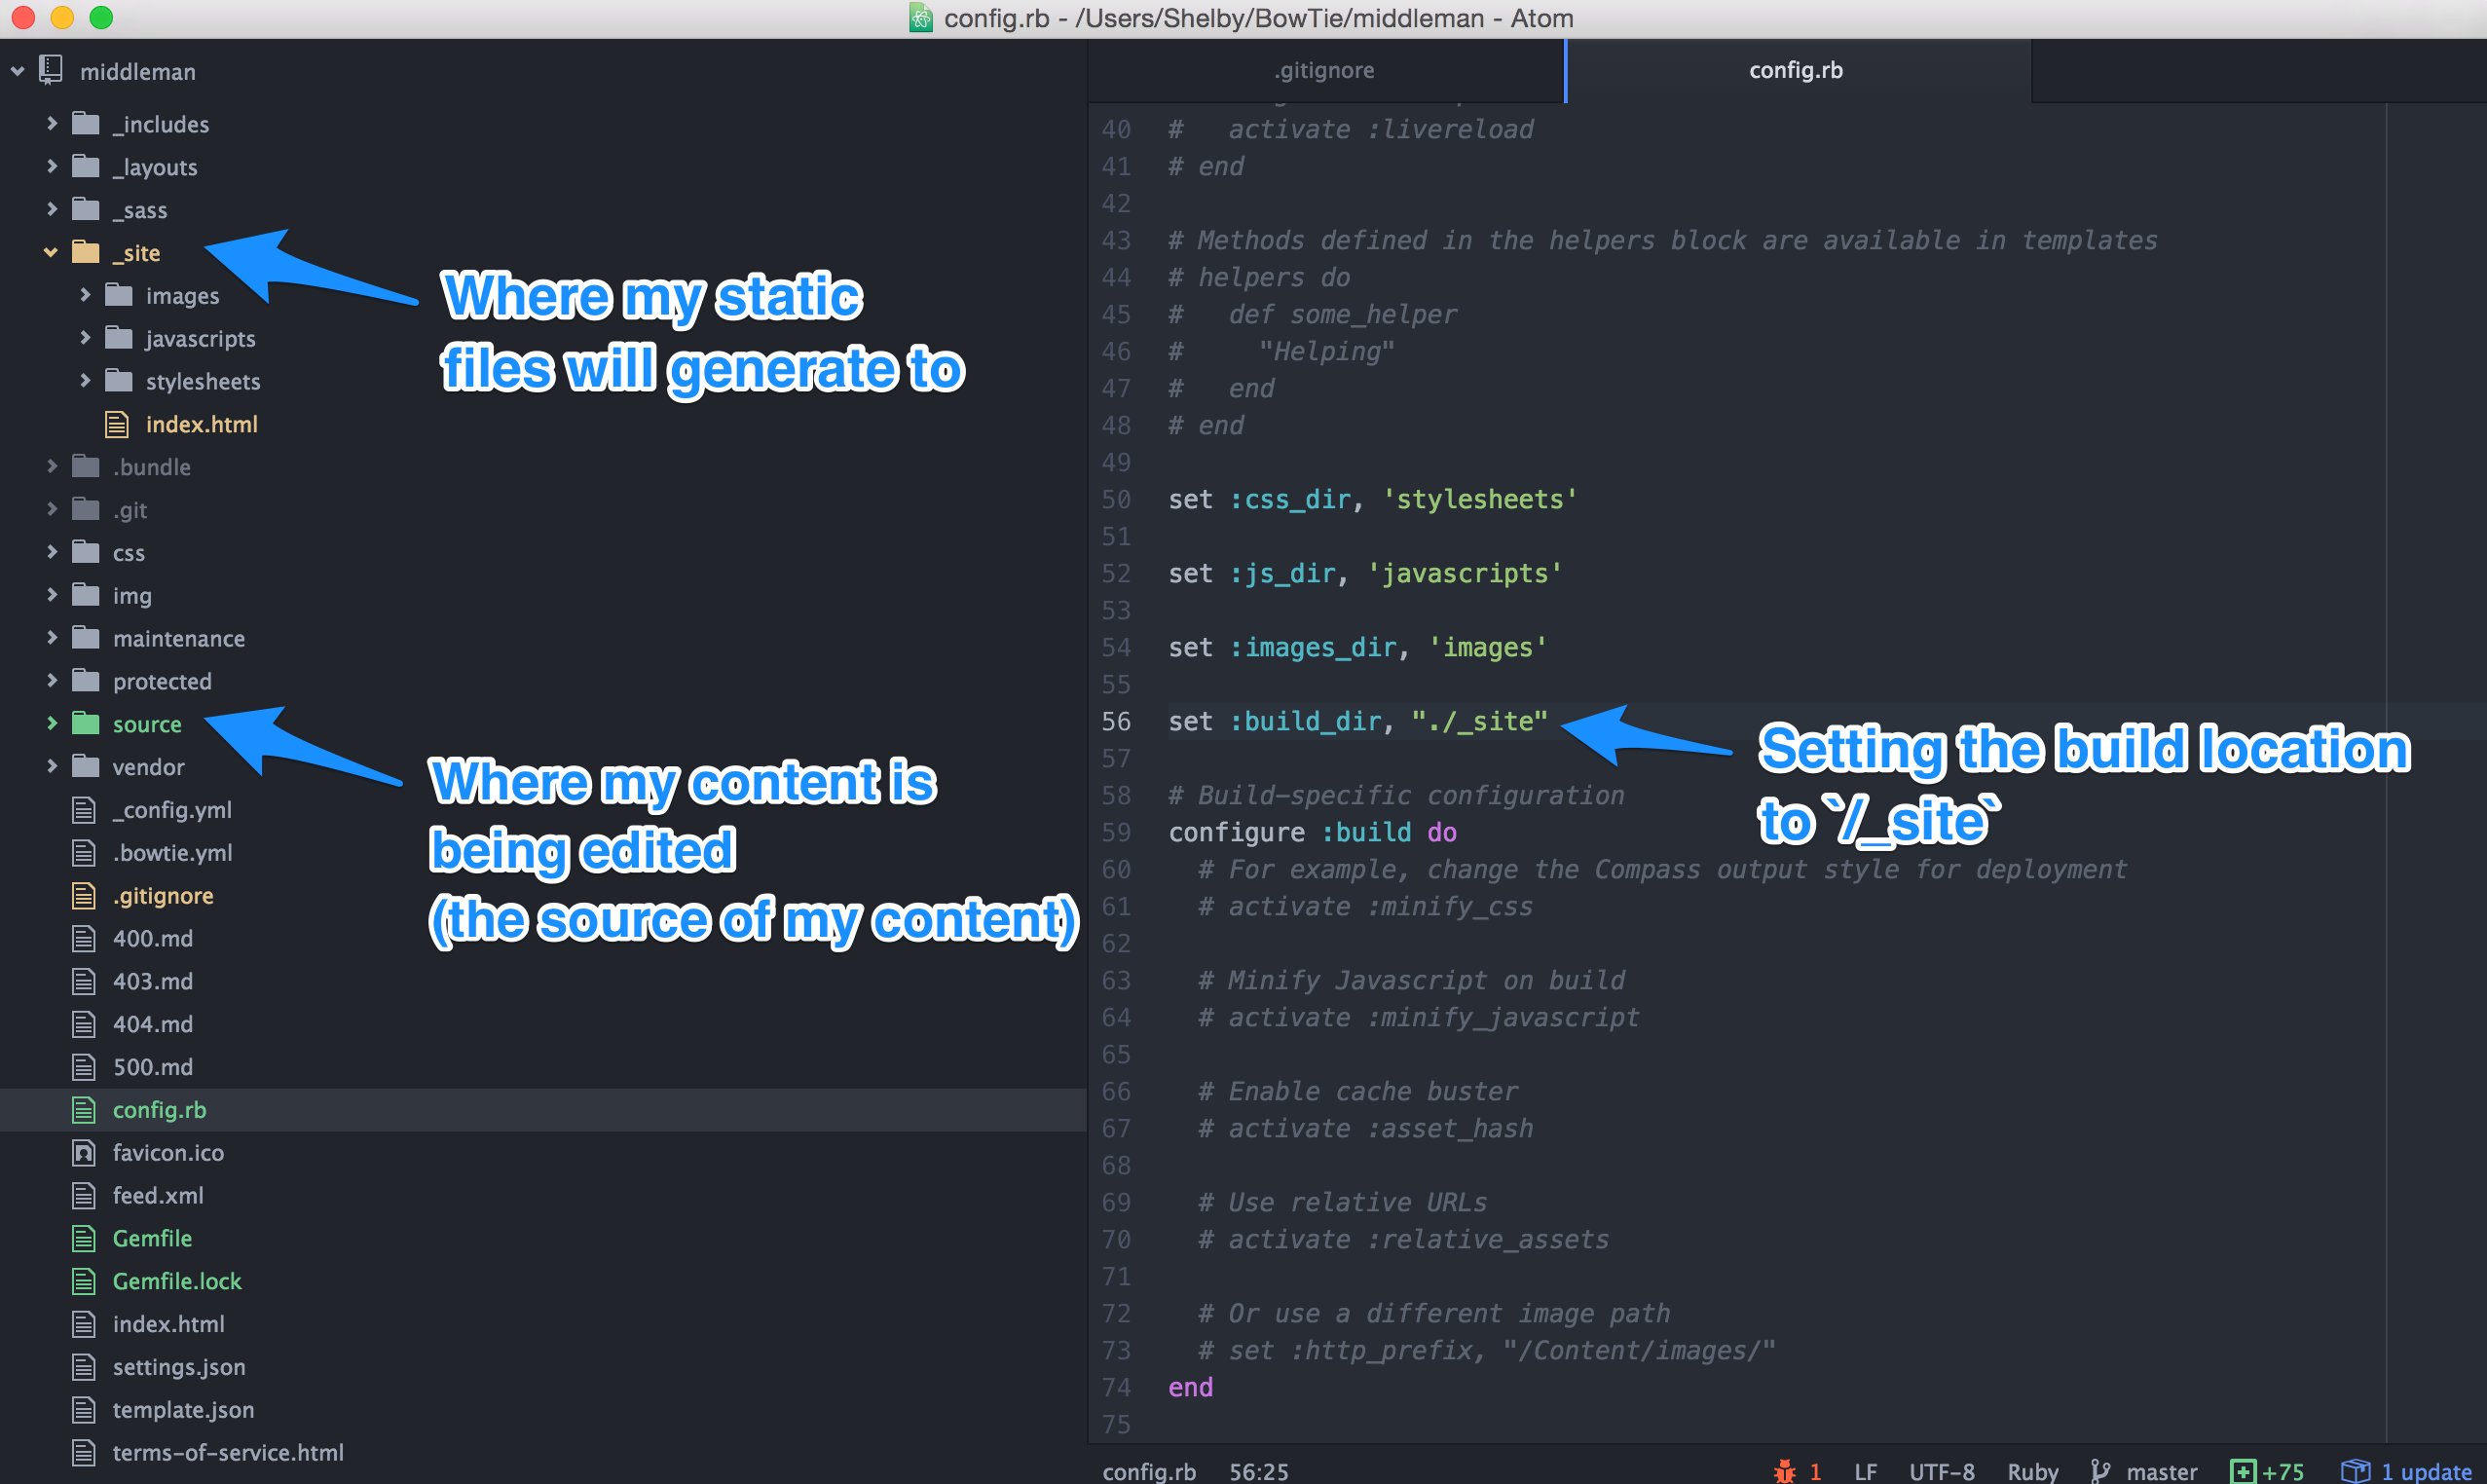
Set Middleman to build to /_site
Open your new config.rb file and add this line:
set :build_dir, "./_site"
This sets the destination of your Middleman build to be in the root of your BowTie repo at /_site. This folder contains the content that will be served to your visitors.
Modify gitignore settings
By default, BowTie rebuilds your site with Jekyll each time you push to your repository, outputting the new build to /_site. If we recognize the presence of a /_site directory in your project, the server side Jekyll build is disabled and we will serve the /_site content you have deployed.
BowTie’s Jekyll templates include a .gitignore file. By default, line 1 contains an entry for /_site. Since we’re including a _site directory manually, you’ll need to remove this entry from your .gitignore in order to deploy your built files.
4. Build Middleman
At this point, you are ready to build your Middleman project. In your command line, in your BowTie project directory, type
middleman build.
This will build your static content into the /_site directory. Now, you can follow normal git processes to push your content - add, commit, and push to your BowTie repository.
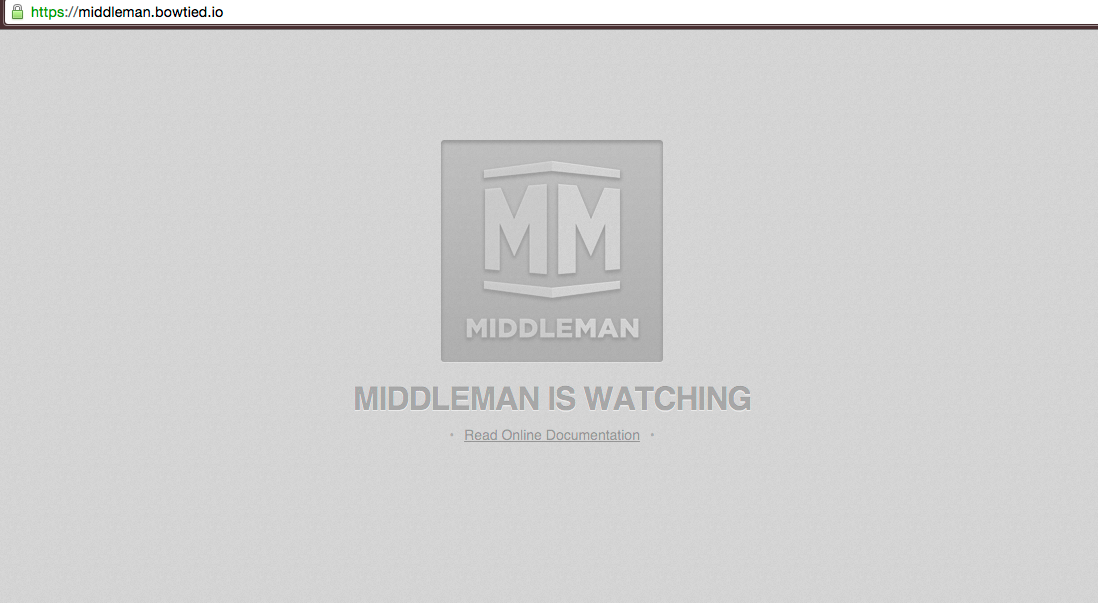
You should now see the default Middleman project you just installed at your BowTie project URL. You’re ready to customize and extend Middleman using your normal workflow. Push to deploy new builds and changes.
Adding BowTie Features
Now that you have a Middleman site on BowTie, you can extend your project using some of BowTie’s service layers.
User Management
You can use BowTie’s hosted user registration forms to register, confirm, and send password reset emails to users.
These pages will be found at YOUR-BOWTIE-PROJECT.bowtied.io/users/sign_up/ and YOUR-BOWTIE-PROJECT.bowtied.io/users/sign_in/.
NOTE: To implement this feature into Middleman you’ll need to style the forms, or add our default CSS files to your project.
Import BowTie theme styles
To add BowTie’s default registration form styling, follow these steps:
- Add a
/cssdirectory to your/sourcedirectory inside your Middleman directory - Add two files to this directory:
main.css.scssandbowtie.css.scss - Inside of
main.css.scss:
Copy and Paste:
@import url("https://maxcdn.bootstrapcdn.com/bootstrap/3.3.5/css/bootstrap.min.css");
@import url("https://maxcdn.bootstrapcdn.com/font-awesome/4.4.0/css/font-awesome.min.css");

// Import partials from `sass_dir` (defaults to `_sass`)
@import
        "bowtie.css"
;
- Now copy the contents of
/_sass/bowtie.scssfrom any BowTie template and paste it intobowtie.css.scss - In your
layouts/layout.erbfile in your Middleman project directory, put"main"in the stylesheet link tag. - Copy over any relevant images, and update paths as required in your stylesheets.
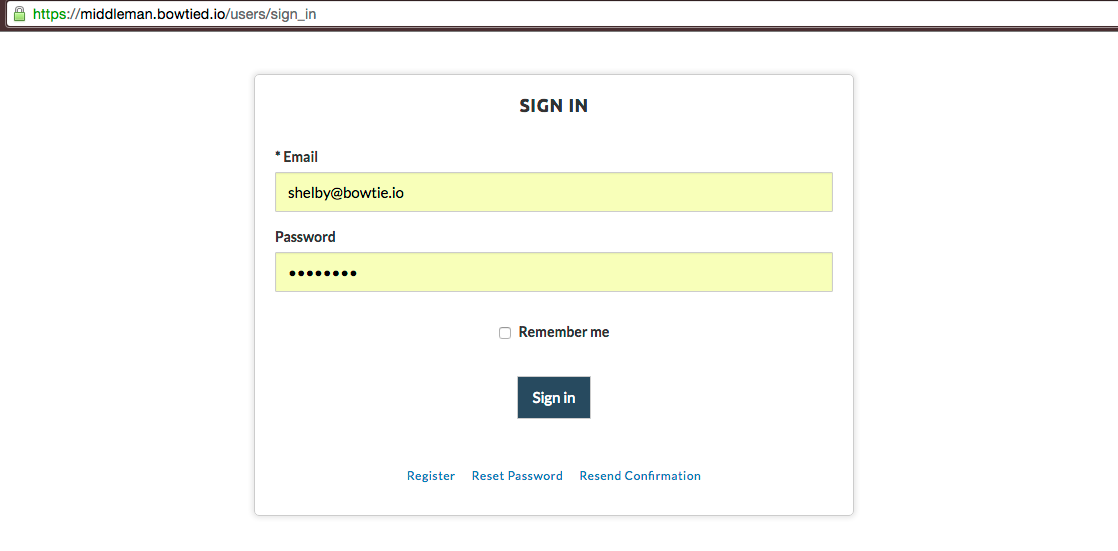
You will now be able to utilize BowTie user management by directing users to BowTie hosted registration or sign in pages.
User Redirects in Settings.json
If you would like to redirect your users somewhere after they sign up or sign in, you will need to include the settings.json file that was installed in the root root of your BowTie project.
Simply edit the after_sign_up and after_sign_in variables in the JSON object to redirect users to any path in your project.
If you choose not to use this feature, you can remove the settings.json file from your repo.
Policies
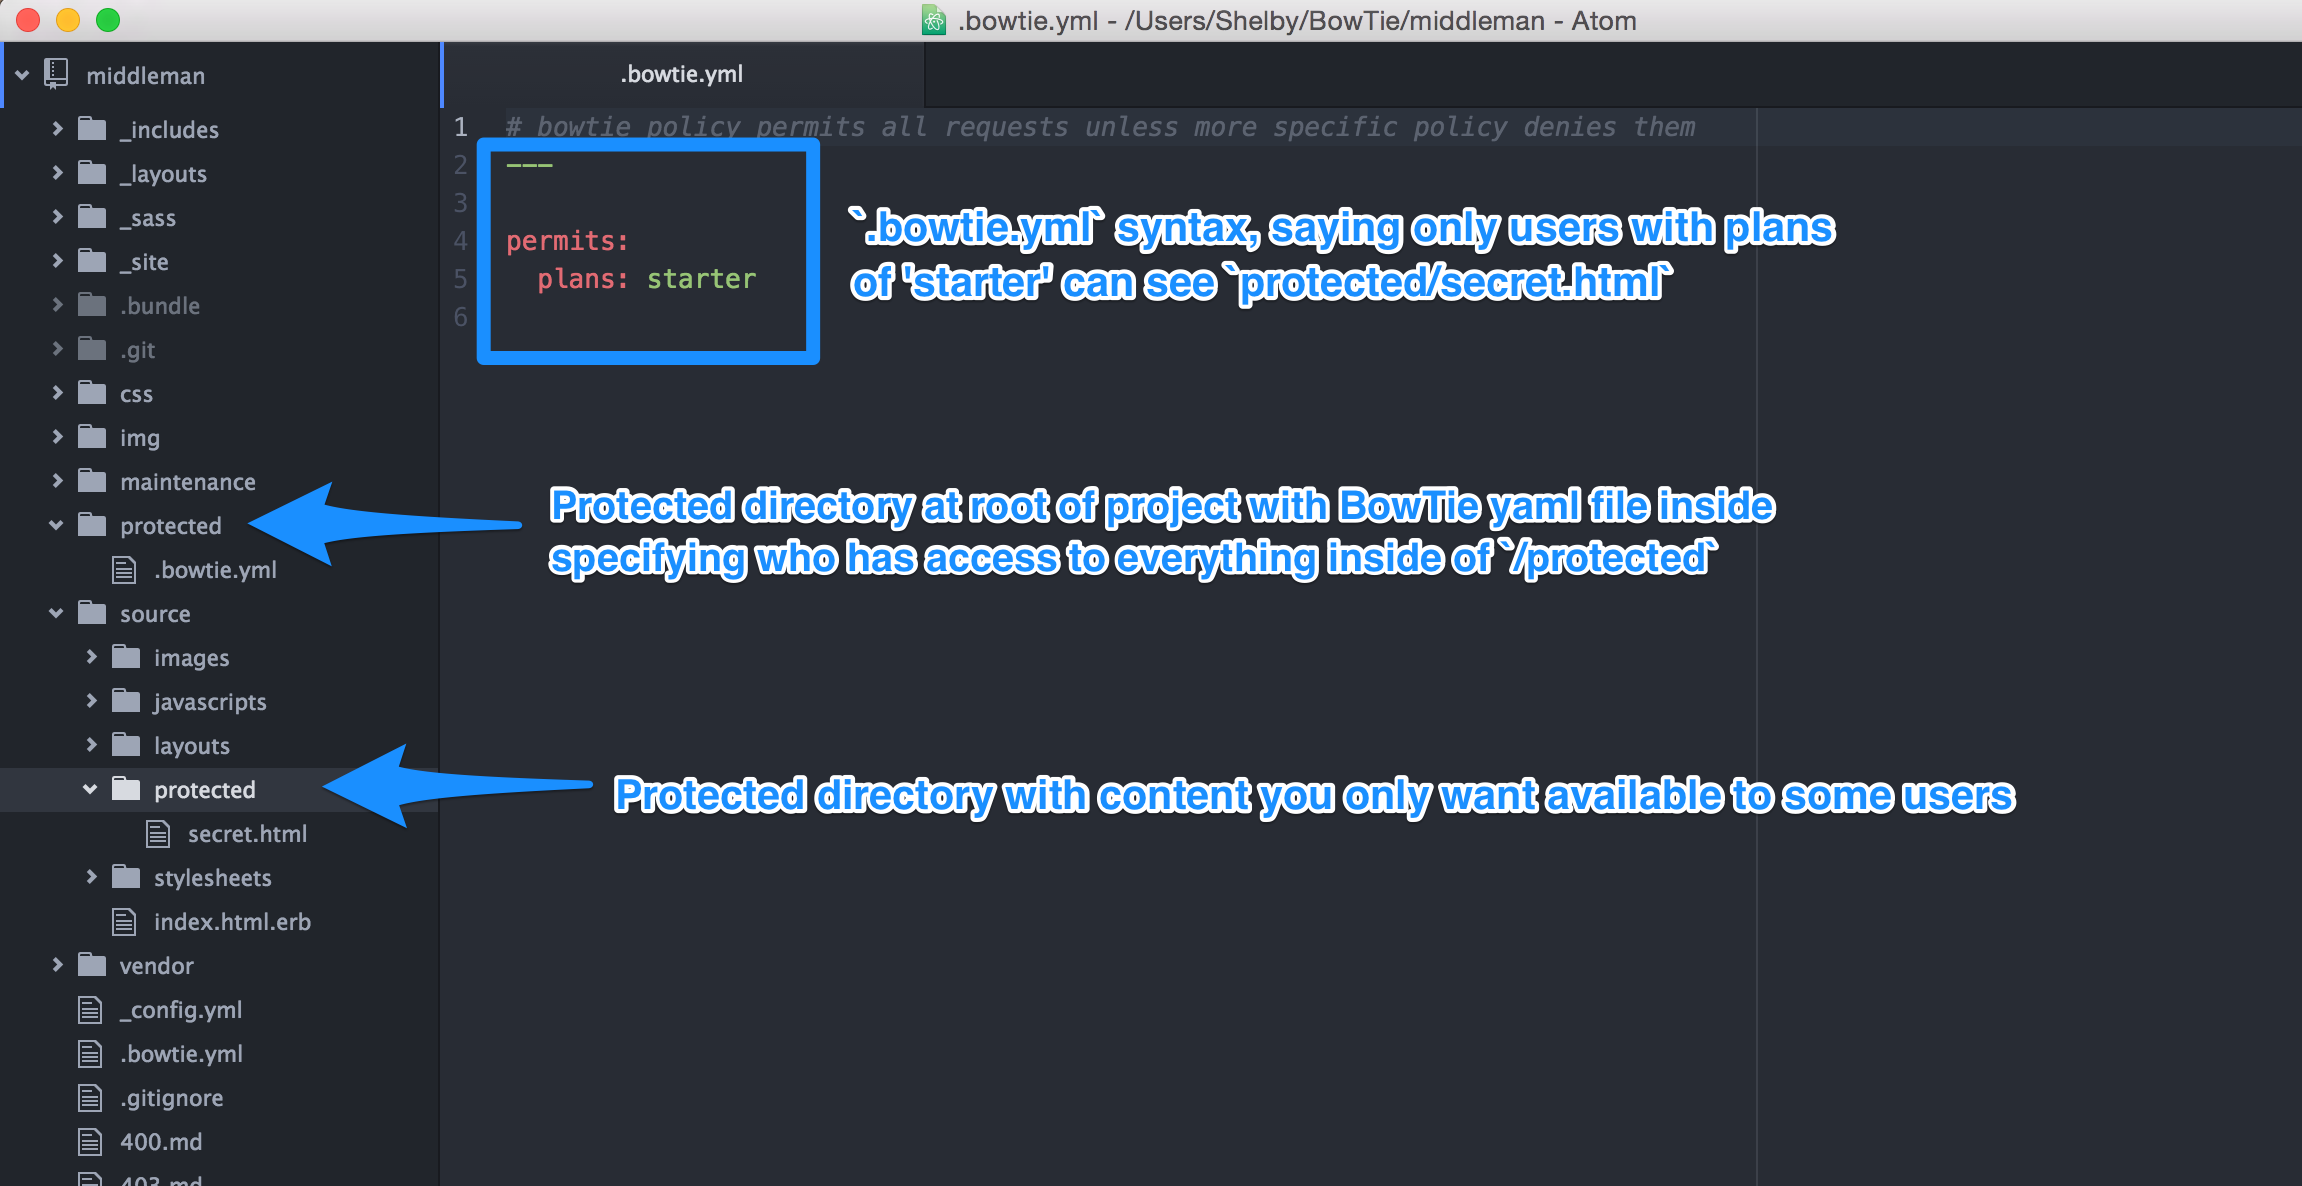
If you would like to limit access to specific directories of your project, you can implement BowTie policy controls. This user guide explains how to set up and implement access control for Jekyll projects.
Note: Middleman projects require a modification to use BowTie policies:
Protected content should be placed inside the Middleman /source so that it builds to the /_site directory. Then, you will need to create a directory with the same name in the root of your BowTie project repository that includes the /.bowtie.yml file, specifying access.
Maintenance Mode
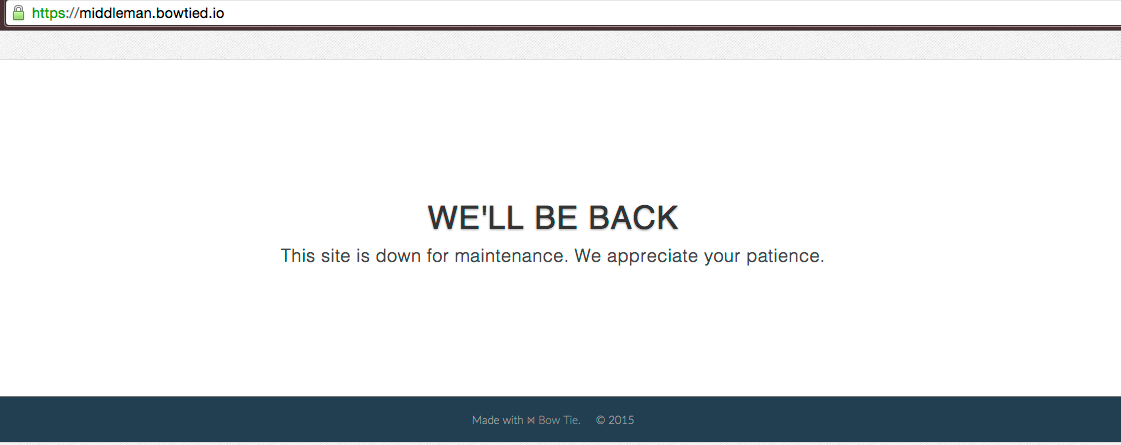
To use BowTie’s Maintenance Mode with your Middleman project, simply copy and paste the /maintenance directory from the root of a BowTie project template into your Middleman /source directory. Build your project and deploy the files. Now, when you flip your maintenance mode switch in your BowTie dashboard to ‘on’, your site will be unavailable to users.
Want a Cleaner Tree?
If you’d like, you can remove almost all files from a BowTie project build and put your Middleman project inside. The only things you will need to keep to retain all the functionality mentioned above is your settings.json file, the .git folder, and your .gitignore file.
Now you are able to create and push a Middleman site to BowTie. You can follow this guide to know how to do it from scratch, or you can skip all the content generation steps and copy and paste your pre-existing Middleman project into your BowTie repo.
If you are new to BowTie, check out our other Getting Started guides.
Getting Started with BowTie:
- Build a Landing Page in 5 minutes
- Using the BowTie Collection Editor
- Initial Configuration
- Setting Up Custom Domains
- Customizing and Styling BowTie frontend content
- Build a website with a pay wall
- Blogging with BowTie
- Launch a simple donation site
- Using BowTie’s User Profile system
- Build a Daily Deal Site with Jekyll Collections
- Using Jekyll Data to extend your site
- Adding BowTie users to MailChimp with Zapier
To keep up to date, follow us on twitter at @bowtie_io
Questions? Please comment! Thanks for your support and feedback.